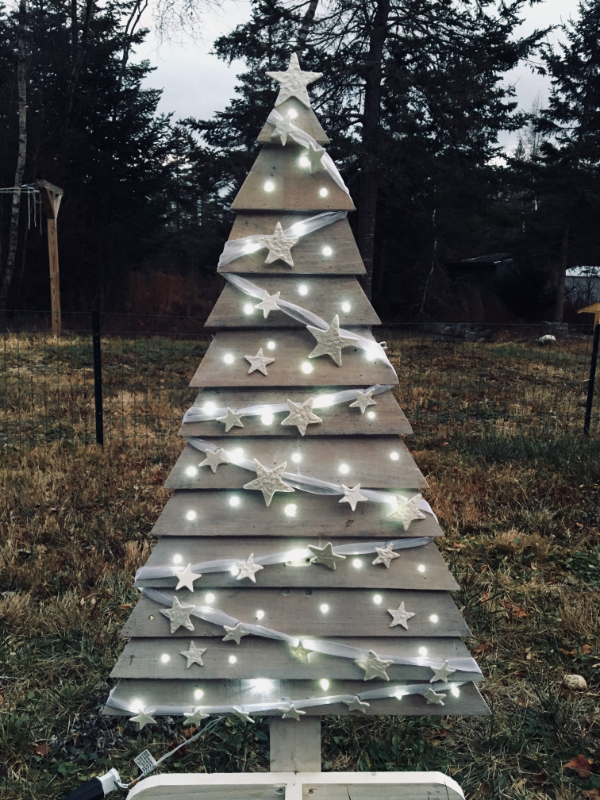
 It’s Christmas Tree Festival time here in town. The past few years I decorated trees with my owls, birds, and woodland critters. I’d planned to follow in that theme, but just didn’t have the time and was in the mood to do something different (I did use one my owls for a Whooo’s Home for Christmas Wreath). One of the three trees I’m donating is this Upcycled Pallet Tree Paul built for me.
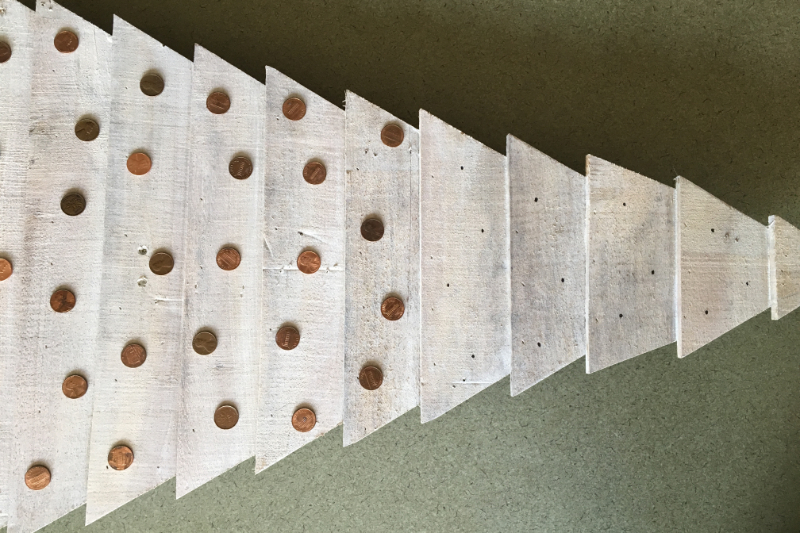
Paul used an old wood pallet to make this rustic looking tree (see his video for this below) . I whitewashed the tree and drilled holes so I could tuck the Christmas light bulbs through from the back.
To position the holes on the tree I counted out 50 pennies and used them to represent each of the 50 lights. Then I used a sharpie to mark the place of each penny so I could drill.
It’s decorated with clay stars threaded on white organza ribbon.
It took a lot of playing for me to settle on this approach. And then it took me numerous tries to sort out the stars. I started with salt dough ornaments, but I found them difficult to work with and a bit clunky. My next experiment was with the Crayola air dry clay. I didn’t like that either – although the dough was easier to work with. Then I found a recipe for baking soda and corn starch clay.
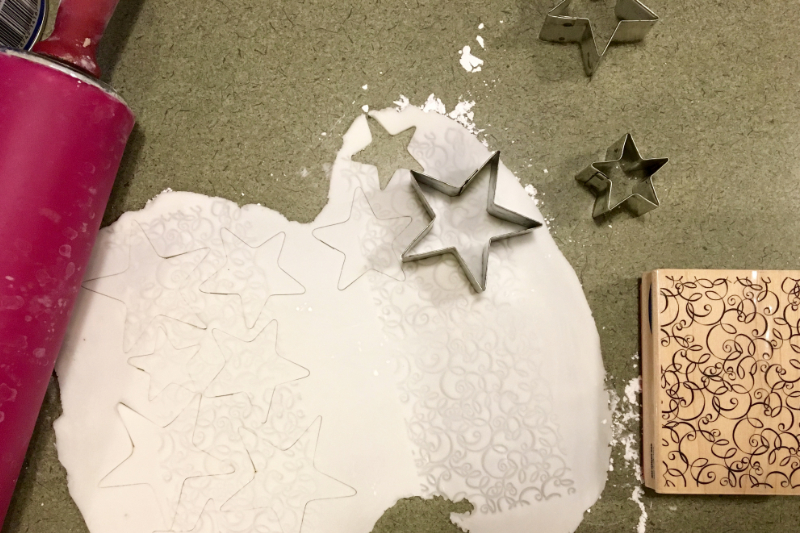
The clay was lovely to roll out and cut. It was soft enough that I could emboss the clay with a stamp before I cut out the shapes.
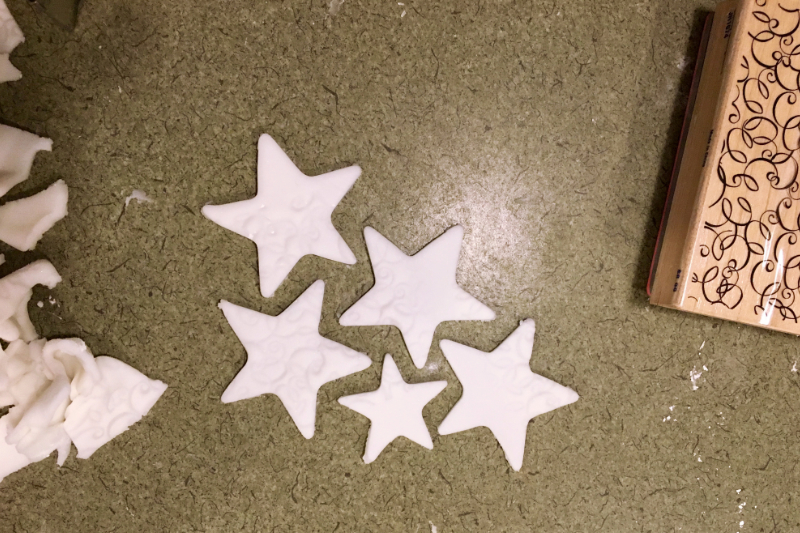
I found it easier to peel away the excess clay than to pluck the stars out of the sheet of clay. The edges were a big ragged, but once baked I used a nail file to knock down the bumps and uneven bits. For some of the stars I used a drinking straw to create a hole for a ribbon; others I left whole.
Since I wanted to keep them white, I sprayed them with a couple of layers of clear coat.
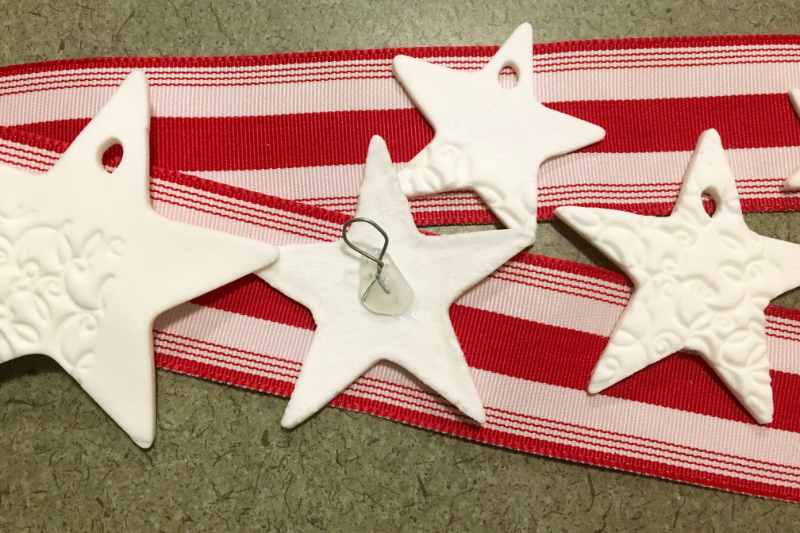
To string the stars on the ribbon, I hot glued little loops of wire to the backs. For use on a wreath, I glued a wire pick to the back.
Here’s the recipe for the clay:
- 1/2 cup cornstarch
- 1 cup baking soda
- 3/4 cup water
Mix all of the ingredients in a sauce pan. Cook over medium heat, stirring fairly often. Within a few minutes the mixture will start to thicken – be patient! Ultimately you’ll get a gloppy blob that you can turn out into a glass bowl and allow to cool covered by a damp cloth. Bake them at 175 degrees for 50 minutes and then flip the stars over and baked them for an additional ten minutes. I used a silicon tray liner on which to bake them, but I bet parchment paper would work equally as well.
My tree’s finished, but I want to continue making clay stars. What to make next?
You can see how Paul created the tree here:


Love your tree and stars
It’s a very handsome tree. I made some ornaments out of that same recipe last year and it really worked great. I like your stars a lot.
I’ve got 8 owls and one downy woodpecker made for my grandkids’ trees! Thanks again for sharing your patterns.
So glad you’re having fun with the ornaments!